|
Rounding IDE Cables: Homemade Version Have you ever opened your tower to find your IDE cables in the way of almost everything inside? There are two main reasons why someone might want to have their cables round. The first would be to lower their temperature; cables are wide and decrease airflow inside the casing. Having better air flow would decrease the case temperature by a few degrees. Otherwise, it‘s only really a question of cosmetics. Some people may have a window kit and are looking for that clean, sleek look. It is also easier to get at your parts when the cables are cleanly out of the way. Self-rounded cables are not quite the same look as what the purchased cables offer, but give the same benefits. The supplies you’ll need are: Electrical Tape / Cable ties
Xacto Knife / Utility Knife 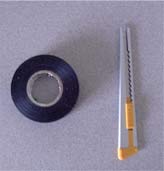 There are two easy ways to sliming down your cables. The first way is to use a sharp bladed tool like a Xacto knife and separating the strands of wire. You will however, run the risk severing a wire that would then need to be replaced. Separated IDE 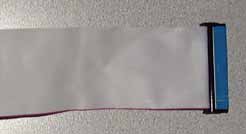
(Original) 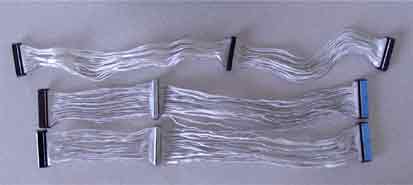
(Separated wires) With my first attempt on the floppy cable, I cut each strand one by one. That took a bit of time since I had to be careful I didn’t cut any wires. On my second section I separated every second wire. I didn’t notice any major differences except that it was a little stiffer, but not by much. The IDE drive cables had their wires much closer and I had to be very careful not to cut into the wire. I recommend cutting every fourth strand just to be safe. It will still give a good amount of flexibility. Each strand was cut approximately half an inch, which was then carefully pulled apart. At this point you’re pretty much done and only need to tape/tie the strands together. The amount of tape/tie you need to hold the wires together is dependant on the length of the IDE and your desired end look. 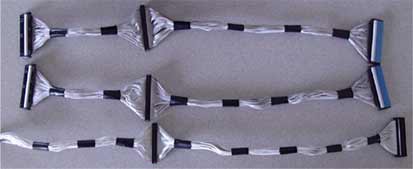 Folded IDE The second option is to just fold the wires down and hold them by using tape or zip ties. My pictures are pretty much self-explanatory so I’ll just cut to the chase. 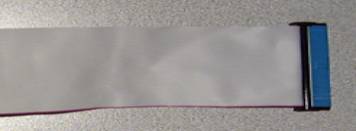 Step 1: Original IDE Cable 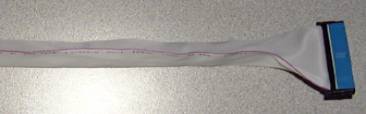 Step 2: IDE Folded in Half 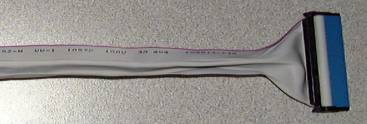
Step 3: End Sides Folded to Middle (Flipped up side down) 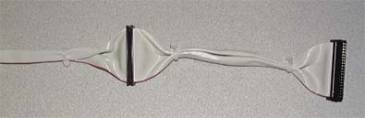 Step 4: Finished Cables with tape I personally don’t like having the cables zip tied. I notice when cutting the excess zip tie with scissors, it created a sharp edge. This can cause a bit of annoyance while adjusting cables or adding/removing components. But this would be ideal for someone whom doesn’t add/remove components that often. PROS Separated IDE:
More flexibility
Nicer look
Folded IDE:
No risk of damaging cable
Reversible CONS Separated IDE:
Irreversible
Risk of cable being damaged
Takes more time and effort
Folded IDE:
Not much flexibility
Summary I recommend spending the extra time separating the IDE cables with a blade. The separated wires give a greater flexibility and make it easier to get around inside your case than having it folded. This is a good project for beginners or even the more advanced user and making their pc run a little cooler. I would like to thank Aaron (Ludicrous) for taking the time to edit and suggest improvements for this article and hope everyone find use of it.

|